Introduction
This is a web-based software which runs on mobile, tablets, laptops and desktop. Eventually there had to be an application to help provide quick results to the administrative head of the different enterprises who use the the ALPHA Platform and its different modules. This appliaction is also used to provide validation to derogations and money transfers. The application helps provide more comtrol and visibility to the administrative members of the company.
Login
-
 Type the link: on your browser or navigator, to access the web application.
-
 Once the login dcreen is displayed,
select the language, Enter the username and the password. Then click on "Login"
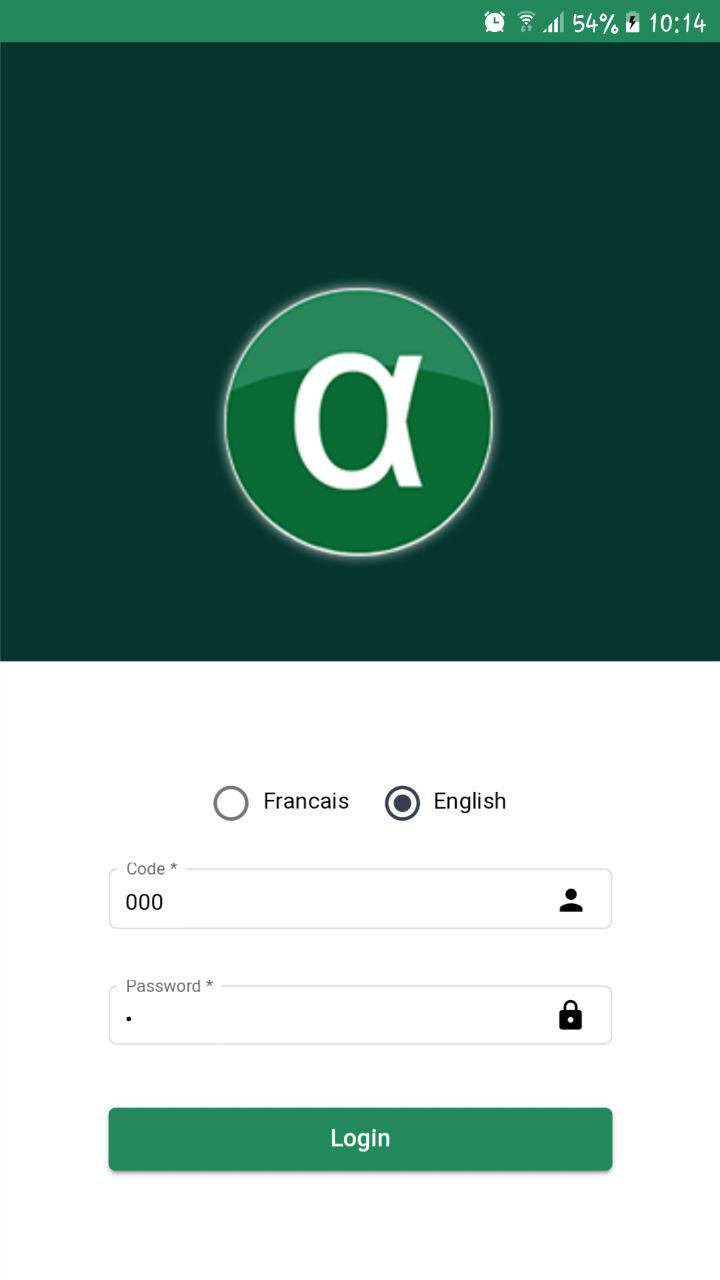 Login Screen
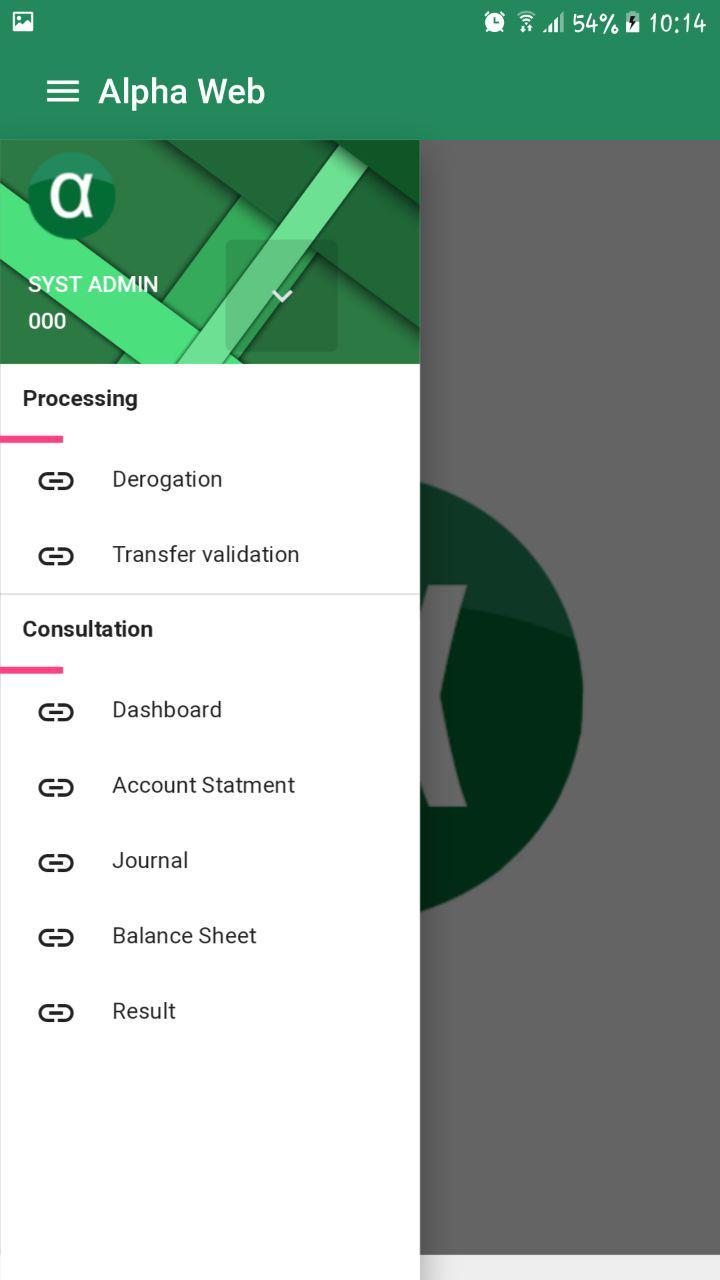 landing Page
Dashboard
-
Click on Dashbord on the menu, and the dashboord will be displayed.
-
The following are displayed on the dashboard:
Paymemnt of the day
Withdrawal of the day
Transfer of the day and
Account/ Client of the day
-
 A table is also displayed below, showing transactions that have been made.
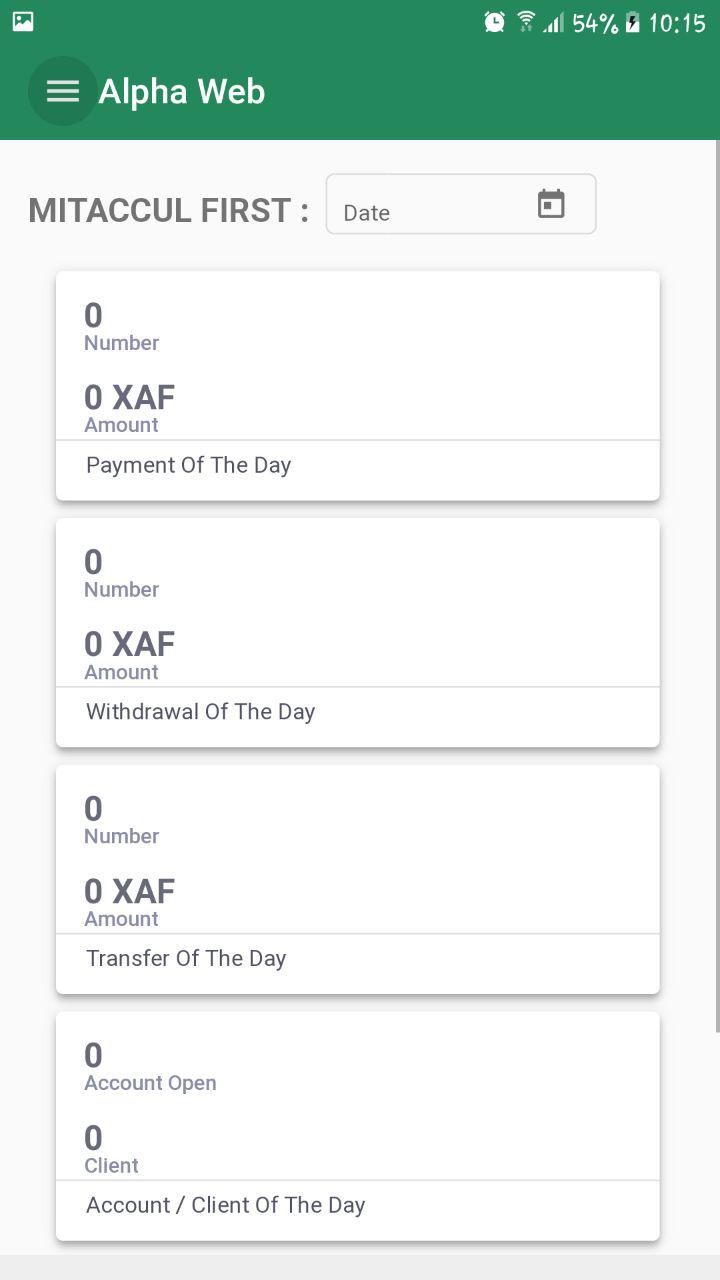
Dashboard: Mobile
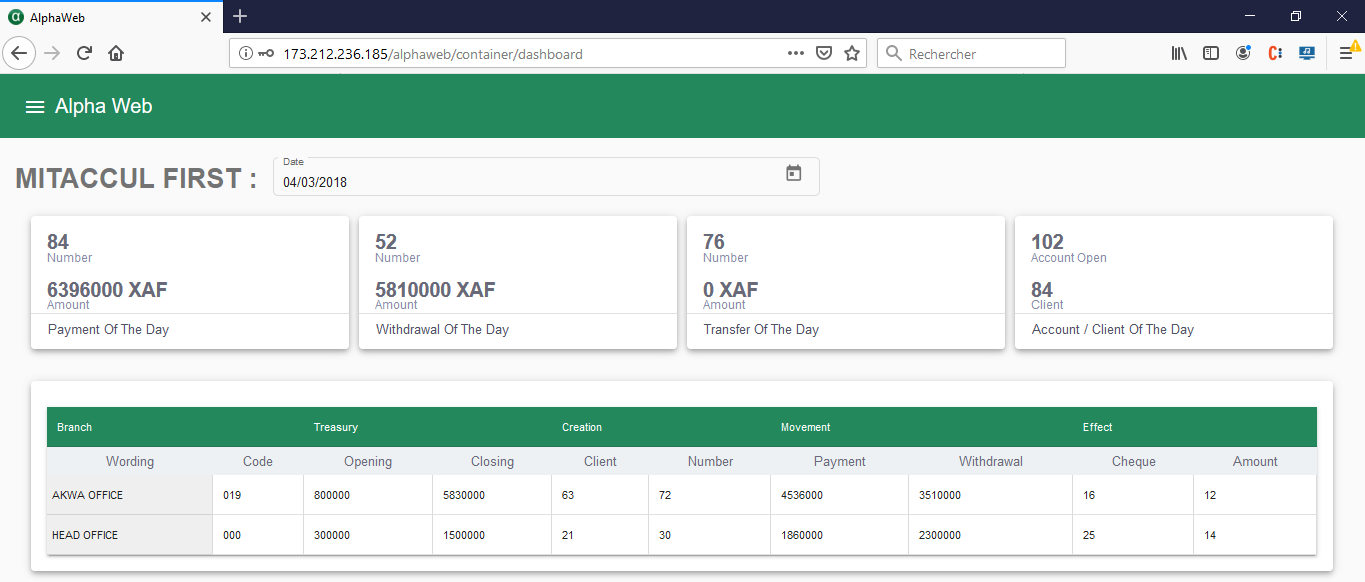 Dashboard: tablet / Laptop
Account Statement
-
Click on Account Statement on the menu, and the Account Statement screen will be displayed.
-
On the Accounting Infotab, select the Branch
-
Enter the Client Numberthen click on Enter on your keyboard
-
 Now select the Account Number for which you want to view the Account statement for
- Then select aStart Date and an End Date, then click on the Apply button.
- The Account Information for the selected account, can be seen on the Account information tab.
- A table is displayed below to show the latest transactions for the seleted client Account.
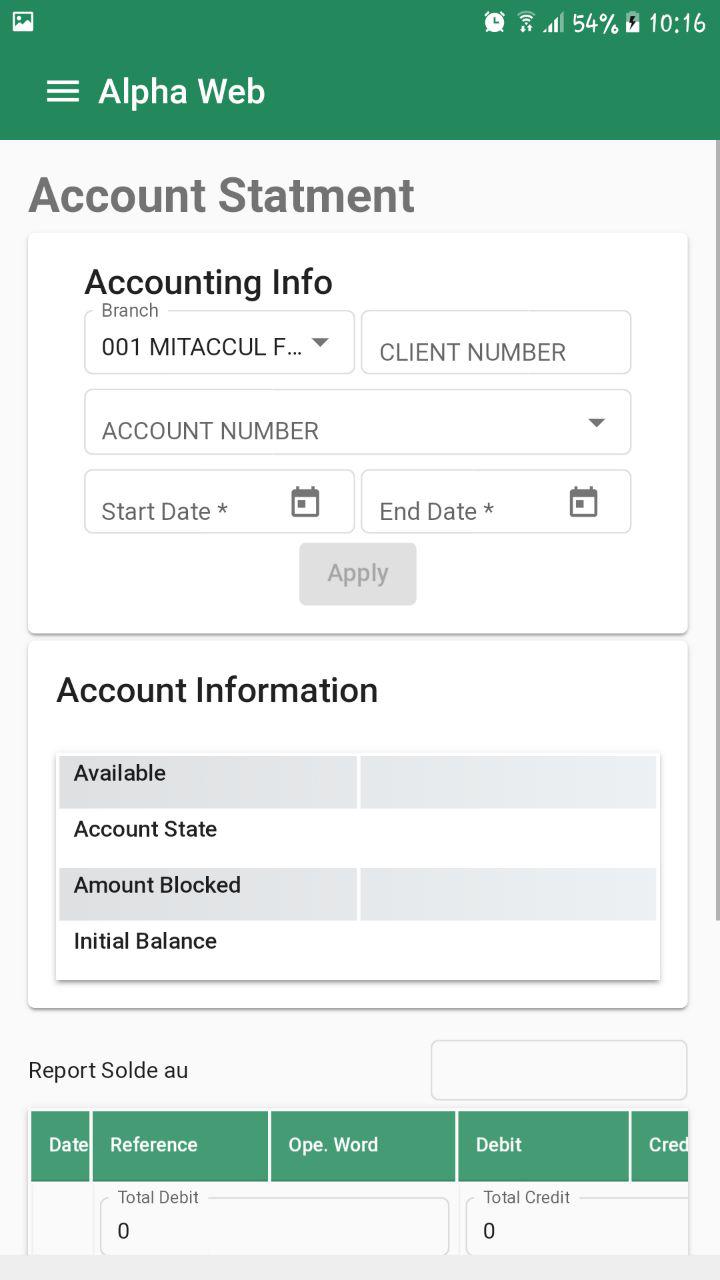
Account Statement: Mobile
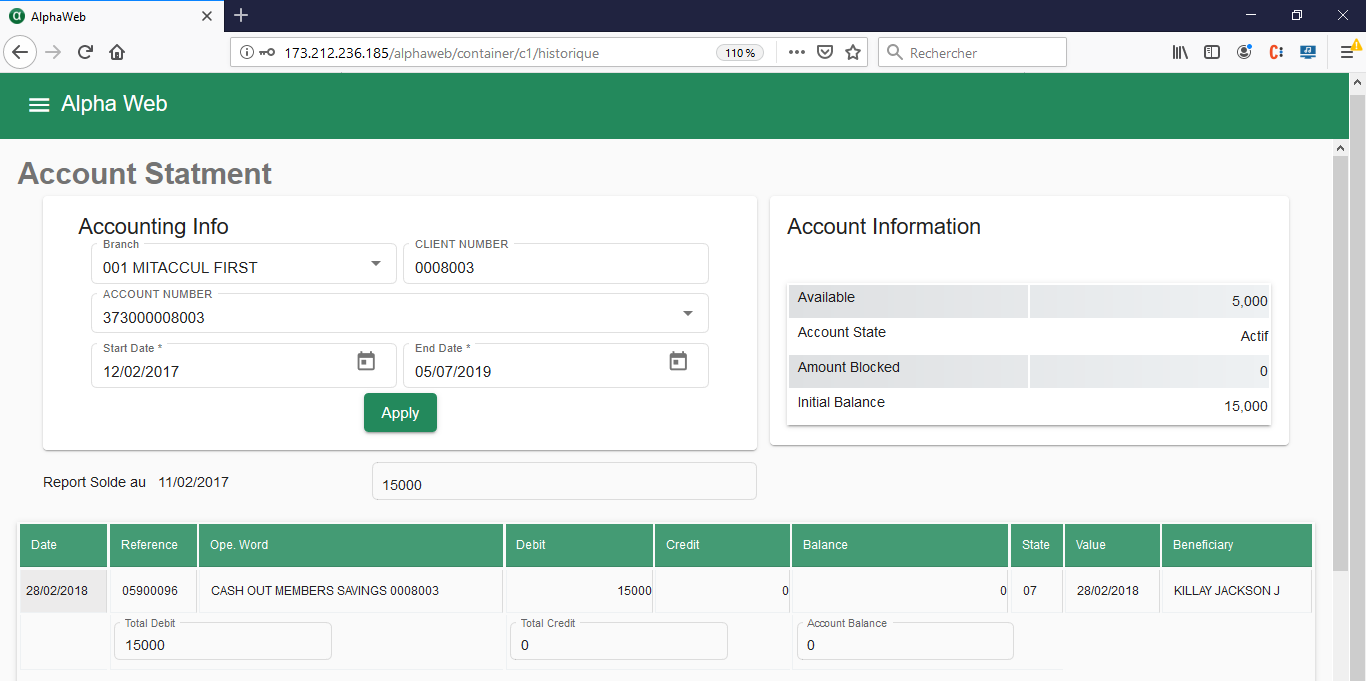 Account Statement: tablet / Laptop
Journal
-
Click on Journal on the menu, and the Journal screen will be displayed.
-
Select the Branch
-
Enter the Start Date
-
Enter the End Date
- Then click the Apply button to get the Journal Entries.
- A table is displayed below to show the latest Journal for the seleted Branch.
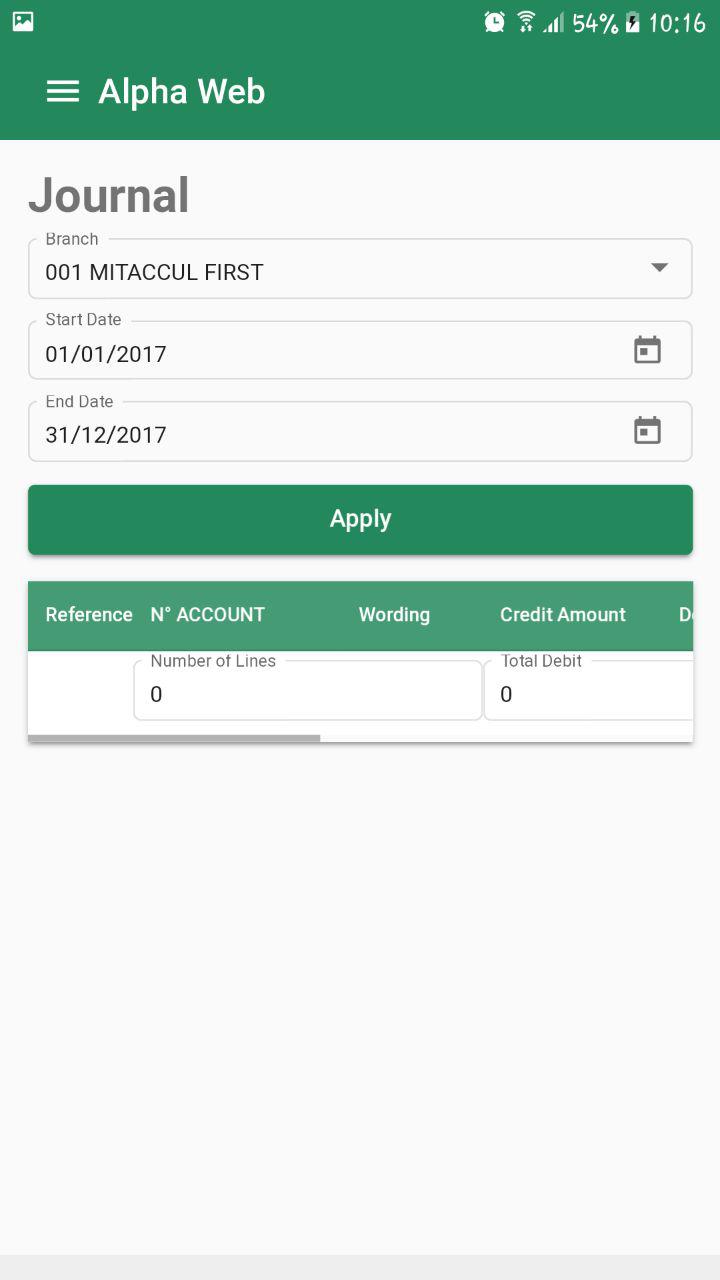
Journal: Mobile
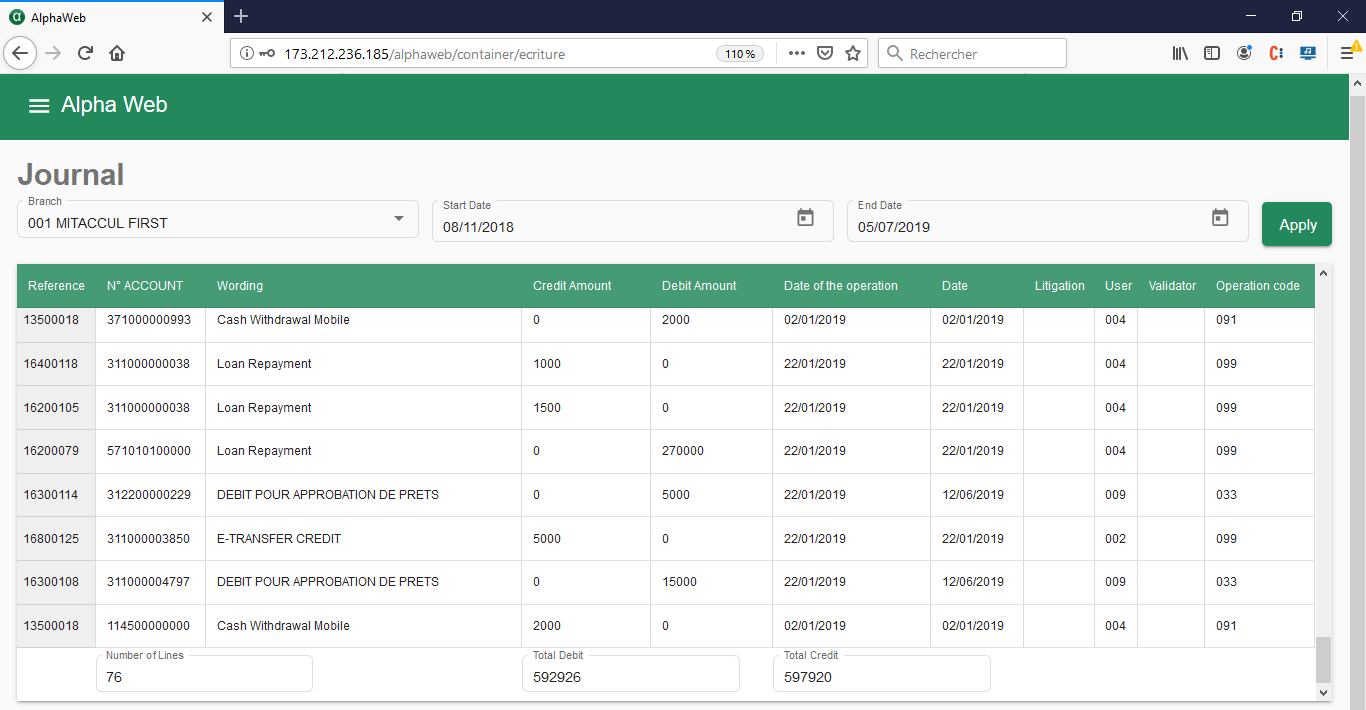 Journal: tablet / Laptop
Balance Sheet
-
Click on Balance Sheet on the menu, and the Balance Sheet screen will be displayed.
-
Select the Branch
-
Enter the Start Date
-
Enter the End Date
- Then click the Apply button to generate the Balance Sheet
- A table is displayed below to show the Balance Sheet for the seleted Branch and the specified period.
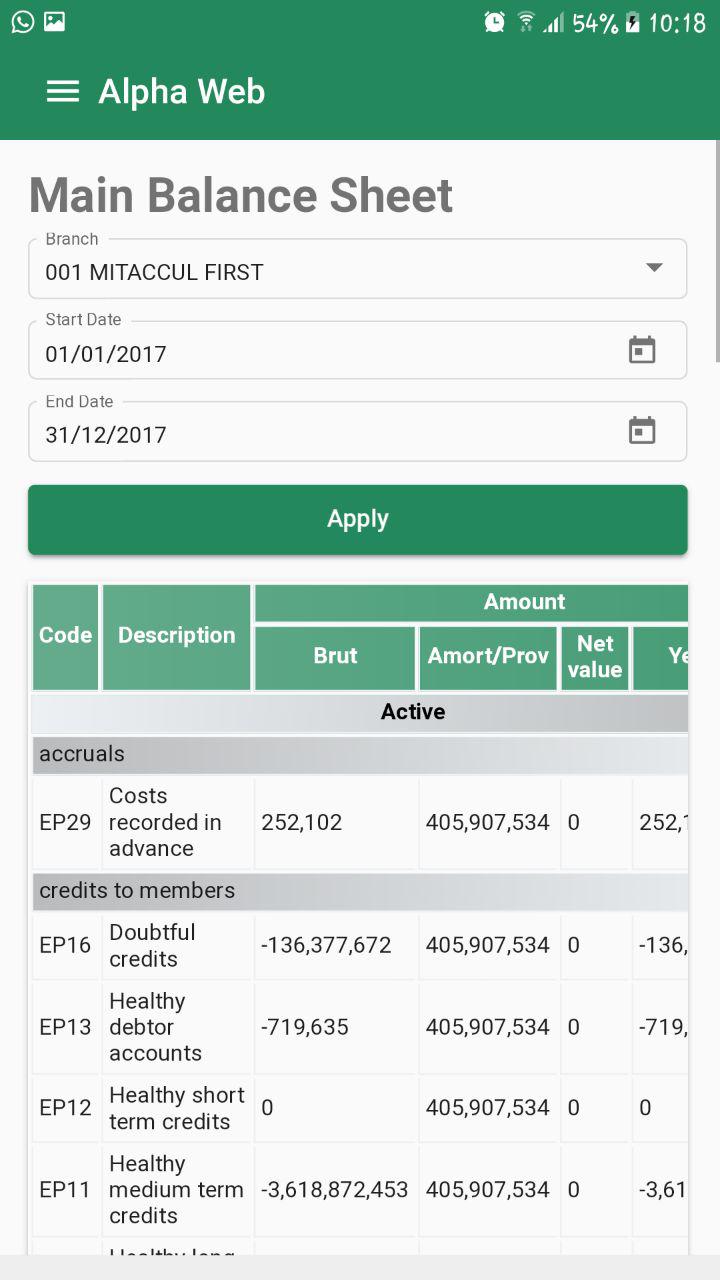
Balance Sheet: Mobile
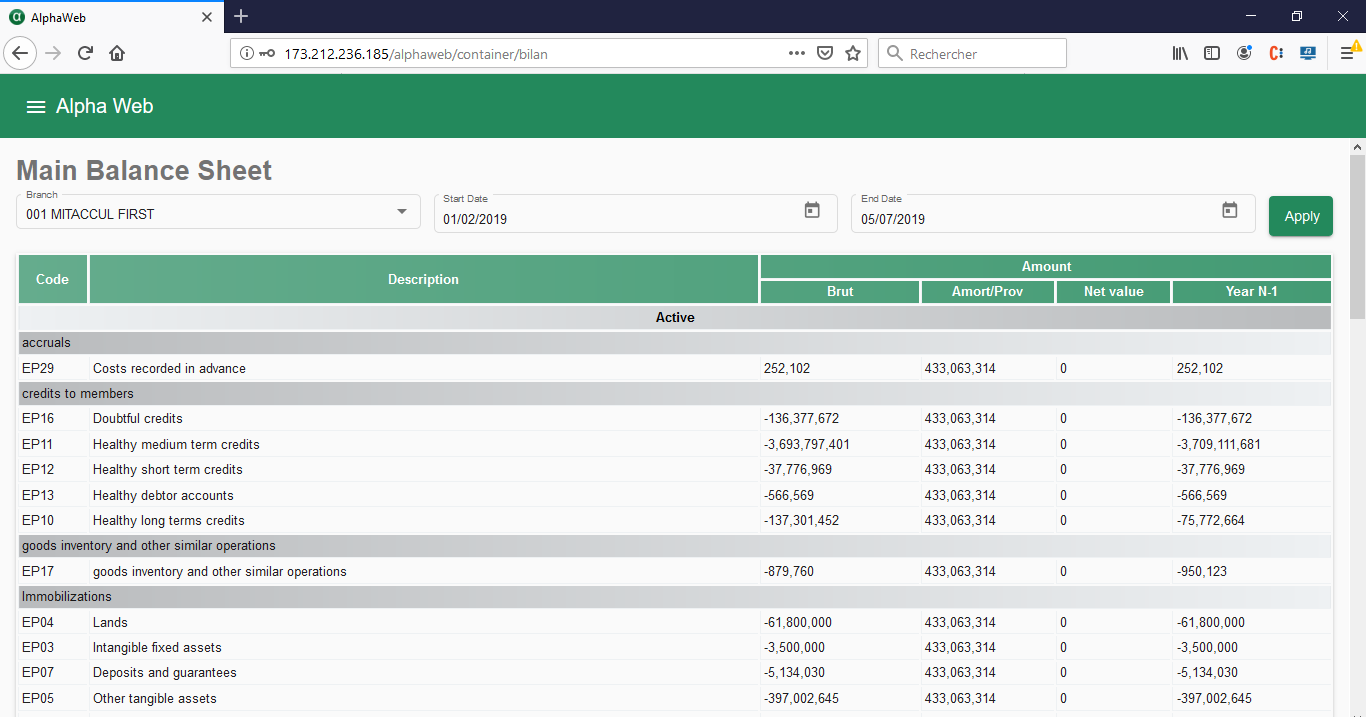 Balance Sheet: tablet / Laptop
Result
-
Click on Result on the menu, and the Result screen will be displayed.
-
Select the Branch
-
Enter the Start Date
-
Enter the End Date
- Then click the Apply button to generate the Balance Sheet
- A table is displayed below to show the Account Results for the seleted Branch and the specified period.
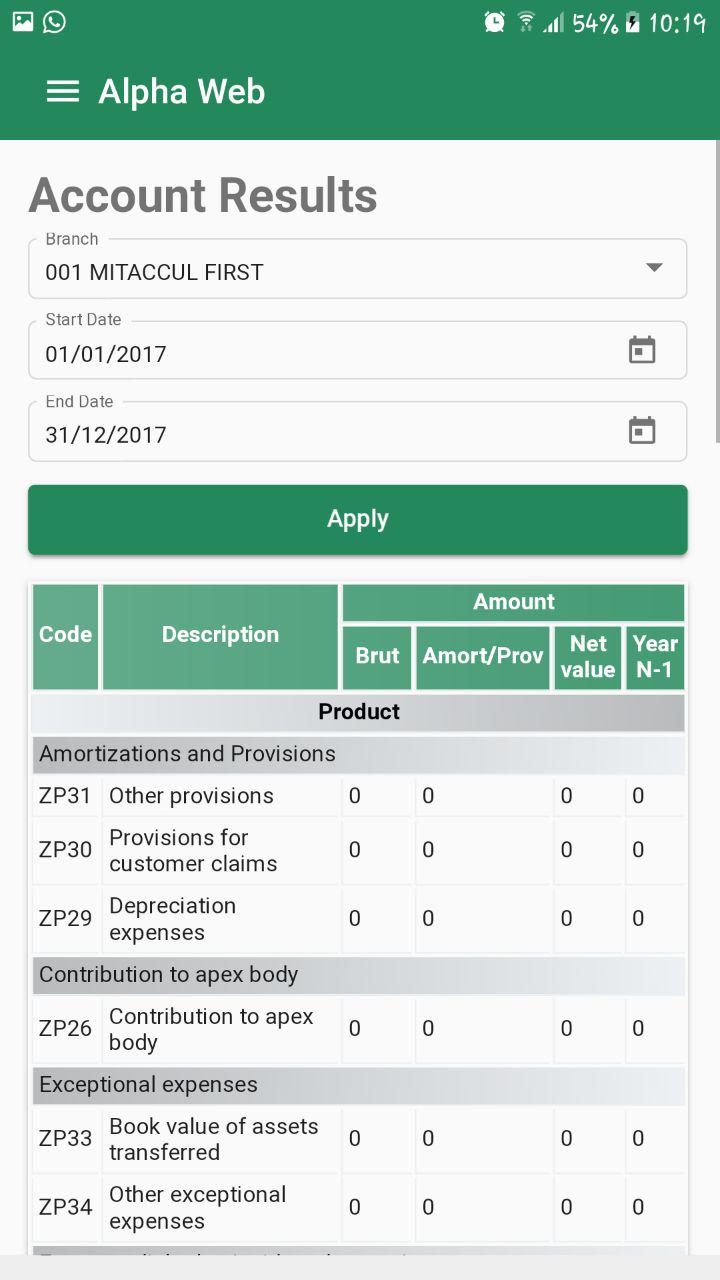
Account Results: Mobile
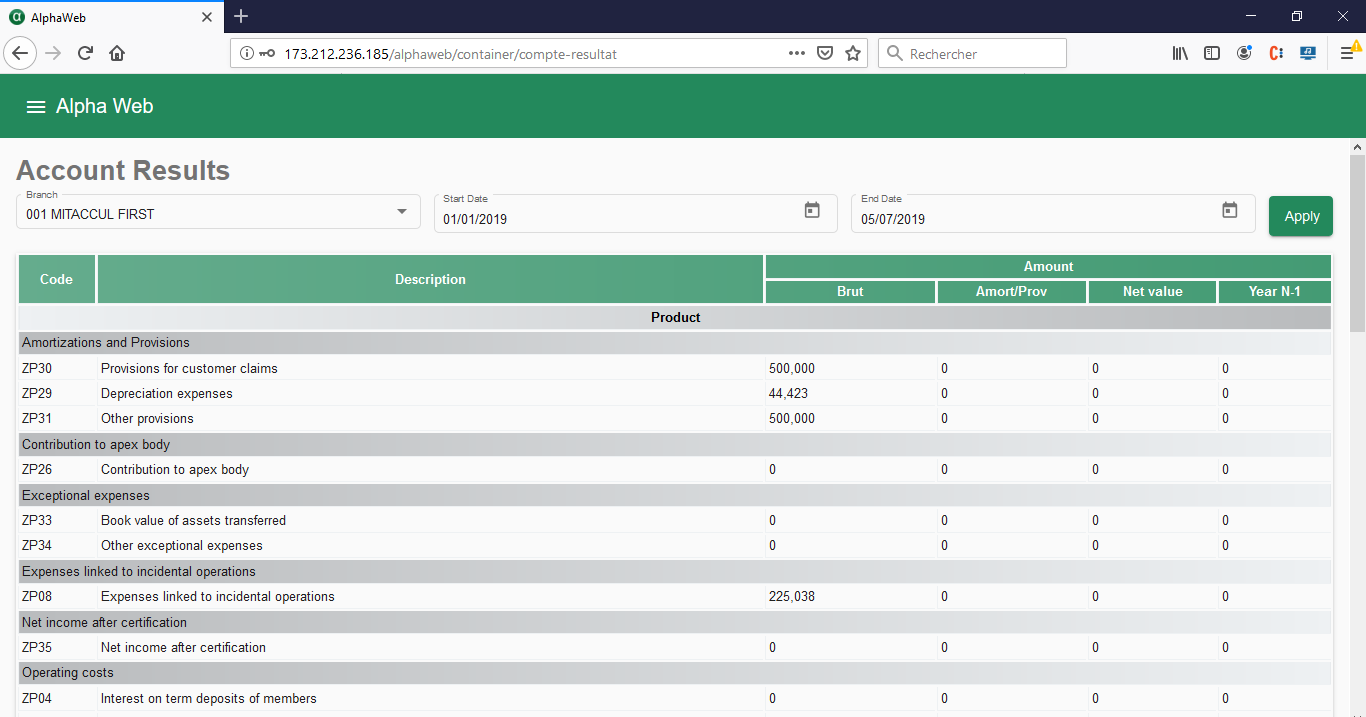 Account Results: tablet / Laptop
Derogation
-
Click on Derogation on the menu, and the Derogation screen will be displayed.
-
Once this view is open, if there are no Derogations available, a message
will be displayed: << No Derogation Found >>
-
If Derogations are available, click on view action
 on the
derogation, to see the details of the derogation.
on the
derogation, to see the details of the derogation.
-
On the Derogation details page, Enter a comment
you validate or Reject
-
 Also to find Derogations on the Filter field,
search using: Account Number, Name, Branch, Type or Amount
Also to find Derogations on the Filter field,
search using: Account Number, Name, Branch, Type or Amount
- If the derogation is accepted, a message is displayed: Derogation validated successfully
- if the derogation is rejected, a message is displayed: Derogation Rejected

Derogations: Mobile
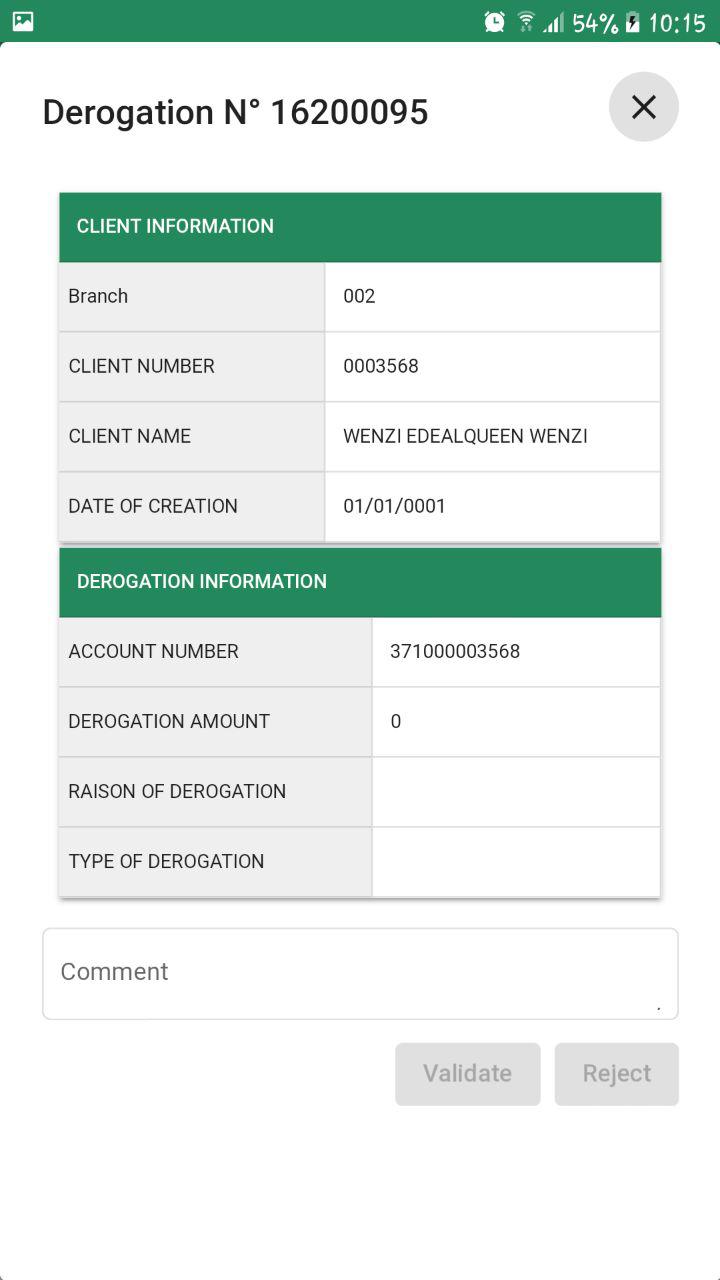
Derogation Details: Mobile
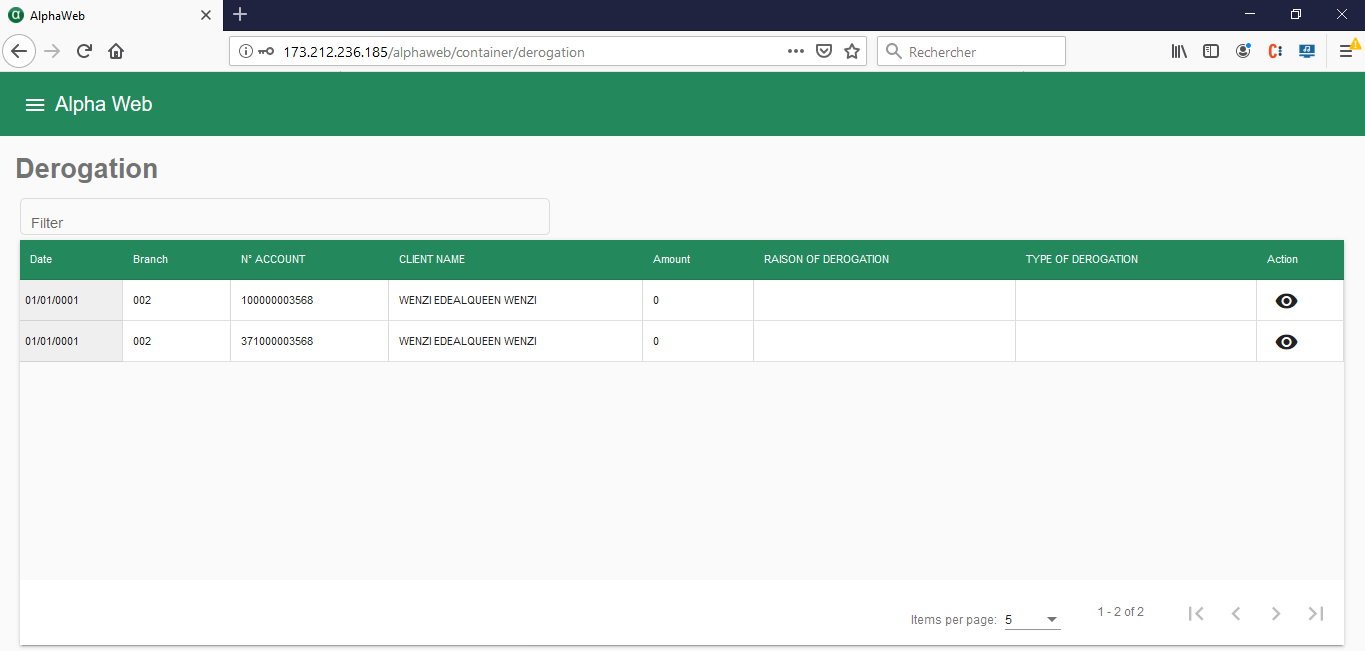 Derogations: tablet / Laptop
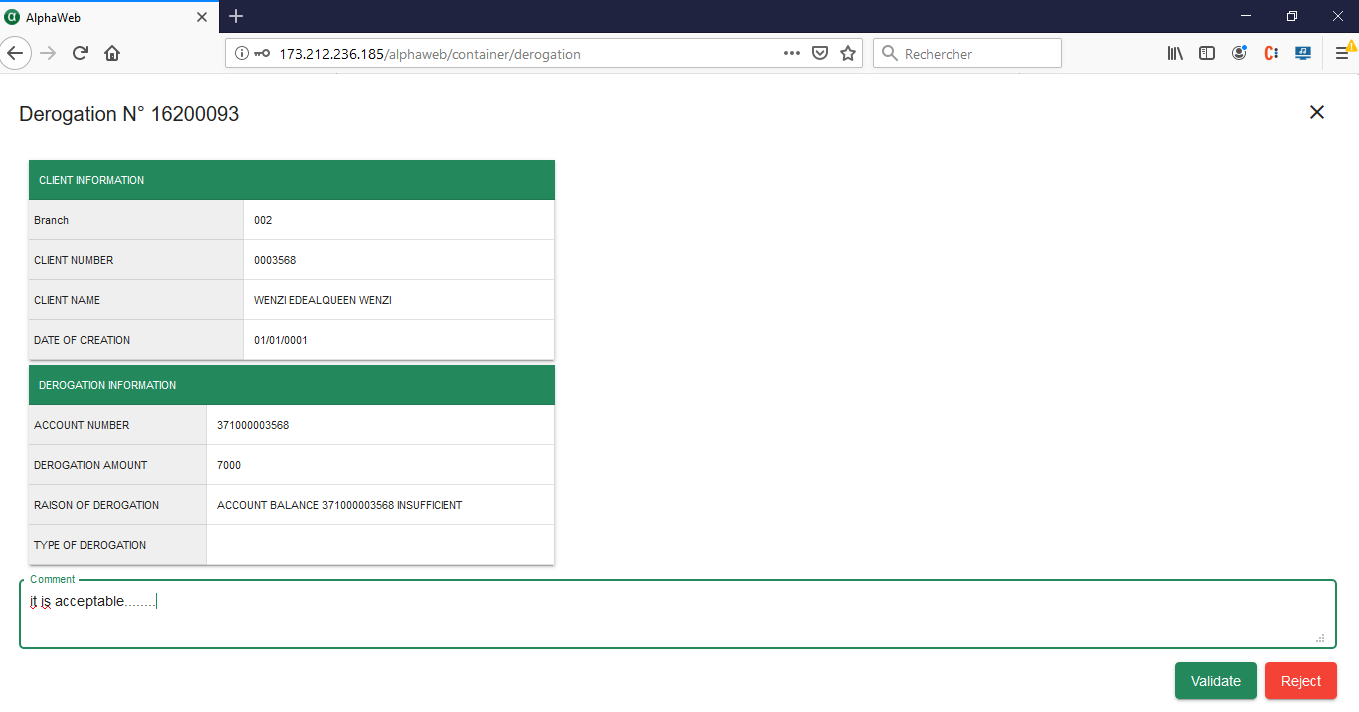 Derogation Details: tablet / Laptop
Messages

No Derogation found
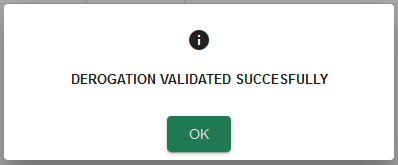
Derogation Accepted
Derogation Rejected
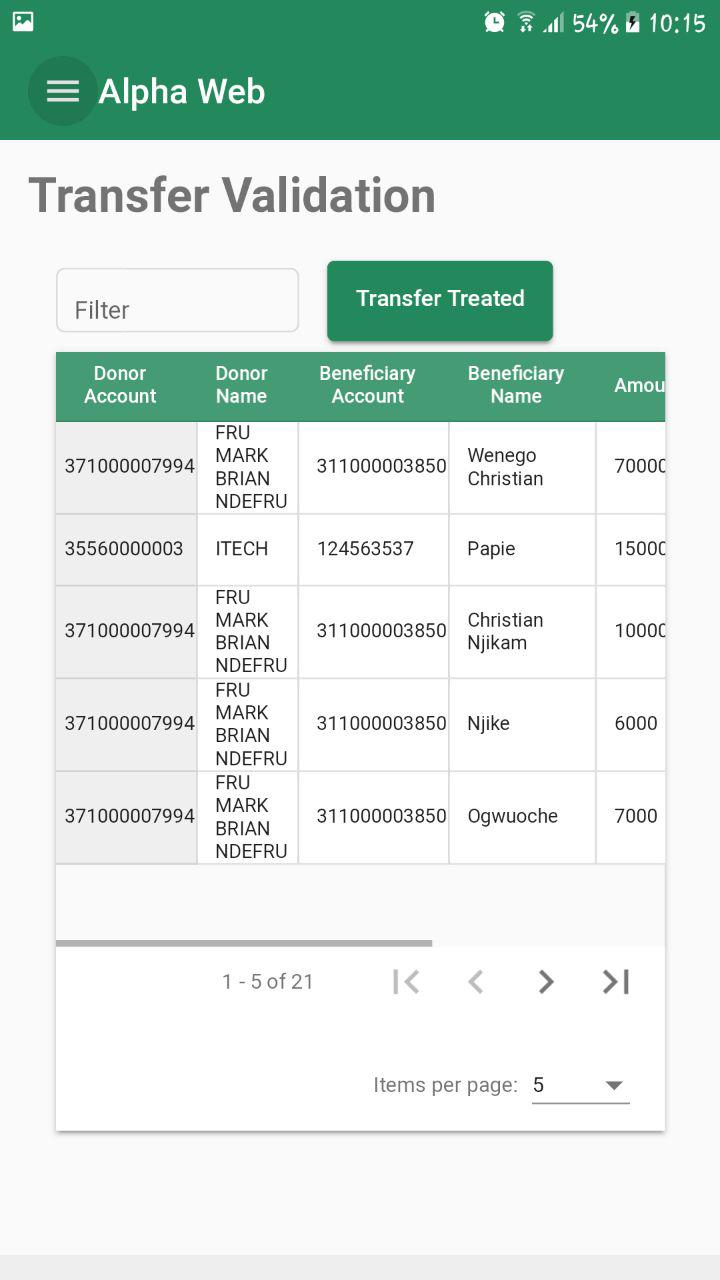
Transfer Validation
-
Click on Transfer Validation on the menu, and the
< Transfer Validation > screen will be displayed.
-
Once this view is open, if there are no Transfers available, a message
will be displayed: << No Transfers Available >>
-
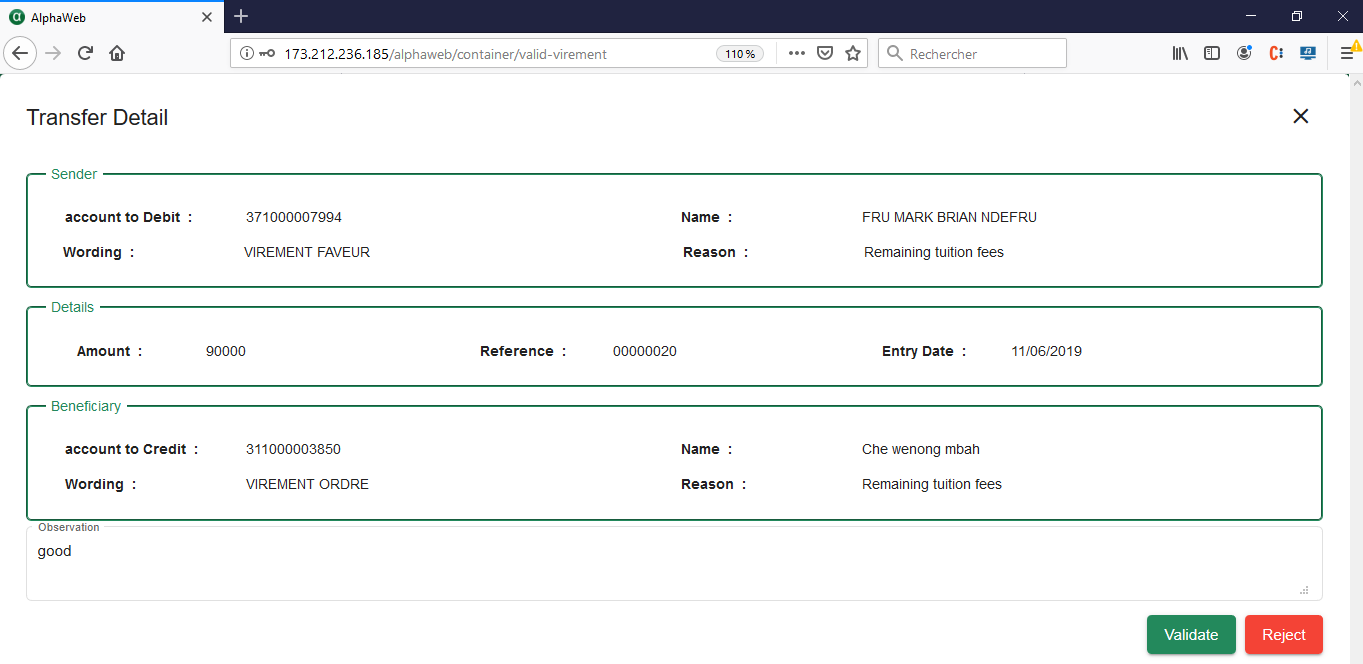
If Transfers are available, click on view action
on the Transfer, to see the details of the Transfer.
Also to find transfers on the Filter field, search using: Account Number, Name or Amount
-
On the Transfer details page, Enter a comment
you validate or Reject the Transfer.
-
On the Once the transfer has been treated, weather is was rejected or validated,
it moves to the Treated Transfer list, which can
be displayed by clicking on the
 button.
- If the Transfer is accepted, a message is displayed: Transfer validated successfully
- If the balance from the client who is making the transfer is insuficient, a message is displayed: Balance insuficient
- if the Transfer is rejected, a message is displayed: Transfer Rejected
Transfer: Mobile
Transfer Details: Mobile
 Transfer: tablet / Laptop
 Transfer Details: tablet / Laptop
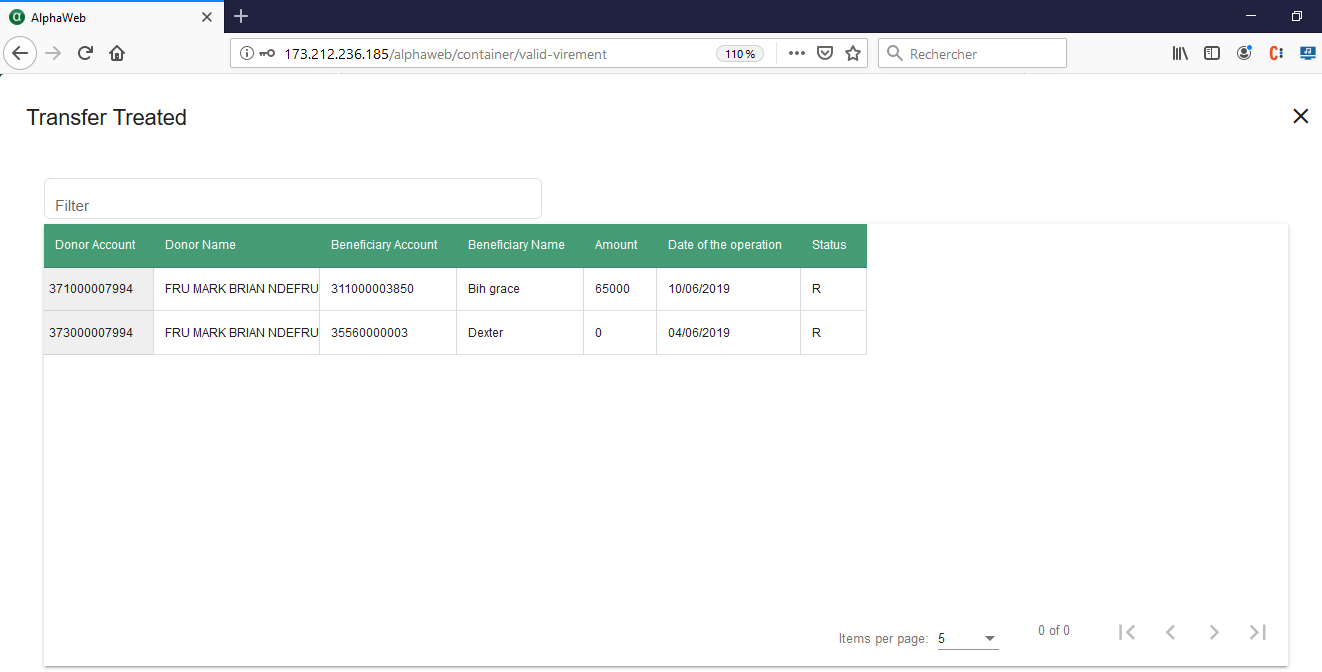 Transfer Treated: tablet / Laptop
Messages
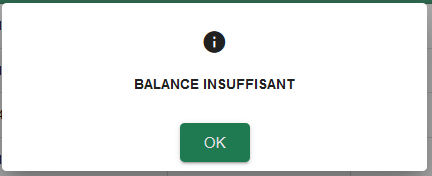
Balance insuficient
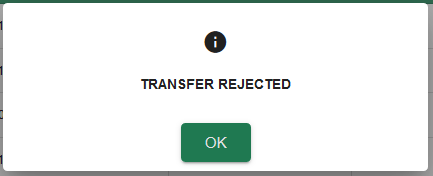
Transfer Rejected